Cleaning Methods
Vacuum Cleaning Explained
Where vacuum cleaning belongs in the larger process.
The approach
It starts with the cleaning fluid. Whether it’s spread manually over the record’s surface using a brush or sitting in an ultrasonic bath, the principle is the same. The solvent or detergent you used loosened the contamination from the record. But it’s still there…
You need to get rid of it.
For a moment, let’s say you don’t. Let’s imagine that instead of removing it you let it air dry. Maybe you’ve even gently wiped the surface with a cloth. Some of the fluid is removed, but not all of it. There are still traces of it in the groove. The surfactant in the cleaning fluid allowed it to flow there. Within it is suspended the grime and particles it dislodged. When the remaining fluid evaporates, they’ll settle right back onto the vinyl. The contamination has been rearranged.
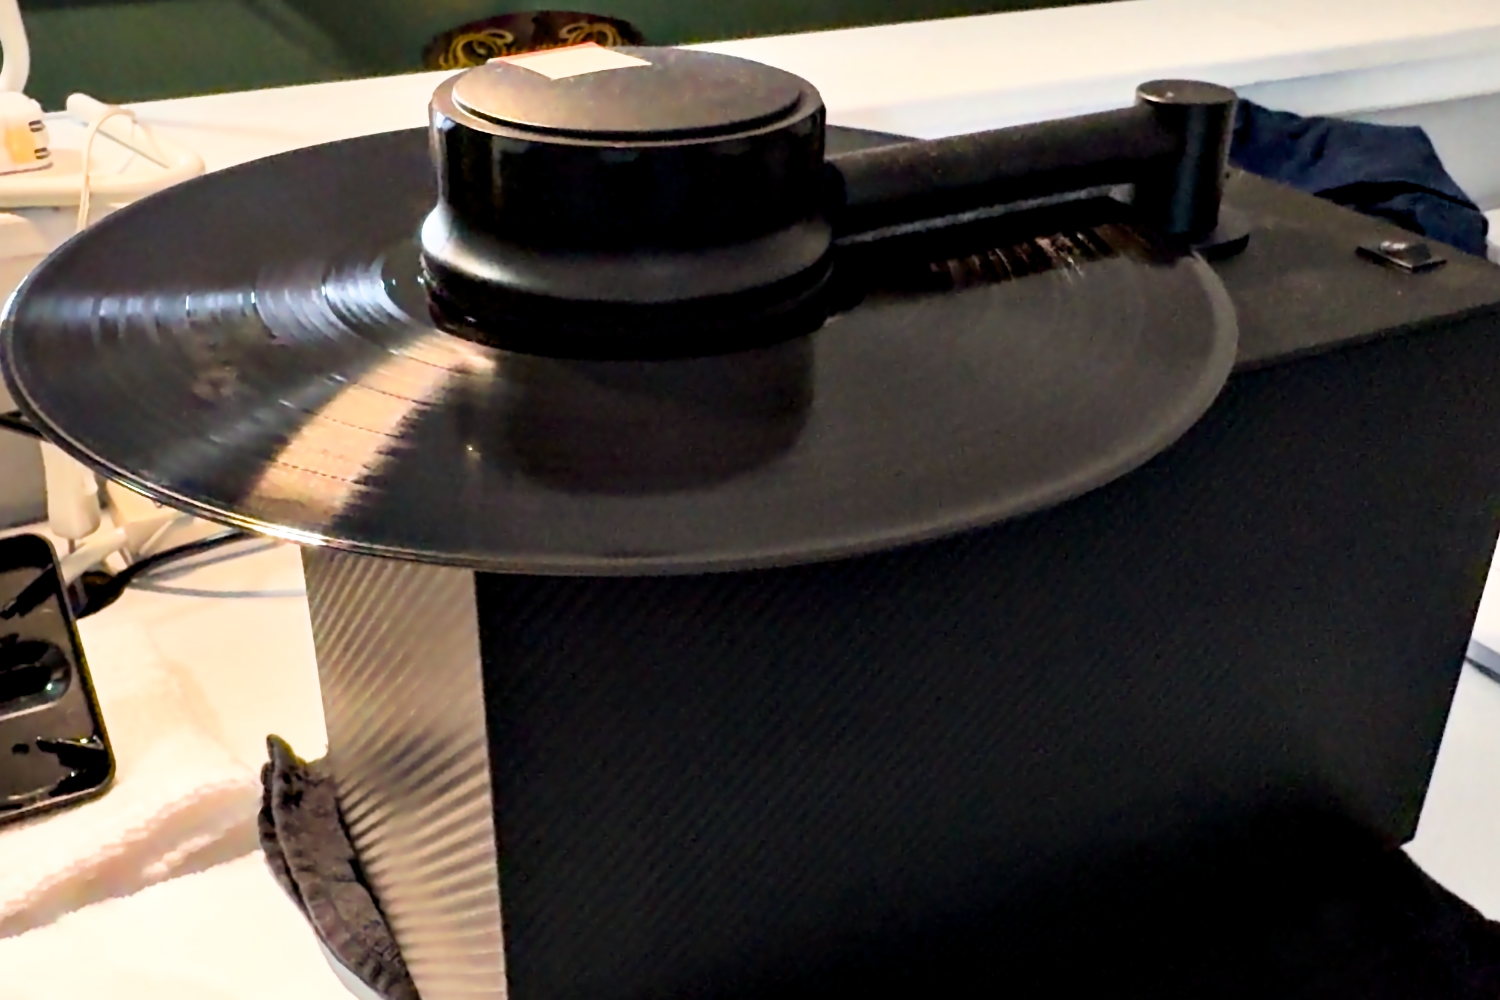
This is where the vacuum comes in. It has one job, and that’s to extract all the fluid, and the floating particles within it, from both the surface of the record and the groove itself.
Many of the record vacuum machines on the market do this with a slotted nozzle that sits either below or above the record (and sometimes both!). The slot itself often has a velvet strip around it. That velvet serves two purposes. It prevents the hard material of the nozzle from coming into contact with the record, and it also wicks the liquid out of the groove for the vacuum.
The vacuum is basically a very specialized shop vac designed to remove the fluid and the contaminants completely after a few rotations.
There is another design worth mentioning, and that’s the one employed by Loricraft and Keith Monks machines. There’s a single small nozzle that never actually touches the record. Instead, a length of nylon thread is fed under the nozzle as it tracks across the surface, and the fluid is pulled off and sucked away. It’s an elegant and ingenious solution while being beautiful to watch.
What you need
Machines range from $300 and up into the $1000s. At the lower end is the Record Doctor VI, which requires you to manually spin the record over the nozzle beneath it while the vacuum does its work. It performs exceptionally well when compared to machines which cost two to three times more. The only thing you give up is the convenience of having the record automatically spun by the machine.
The next tier introduces the motorized platter. You can give your hand and wrist a rest with these. In this category are machines by Pro-Ject, Oki Nokki, VPI, and the Record Doctor XI (my personal favorite). The Record Doctor’s dual-sided cleaning was first introduced with the Model X.
The top tier, when it comes to costs, are the small nozzle/thread machines mentioned above.
You will also need to decide on the fluid, which arguably matters just as much as, if not more than, the machine itself. Most machines come with their own proprietary blend formulated for the device. You can also buy a third-party blend or make your own. I personally make my own, but there are some well-made alternatives on the market.
Once you’ve decided on the fluid, you need to spread it. That means a quality brush. Again, most manufacturers have you covered here. If you need to replace one, I again recommend Record Doctor products. Their Clean Sweep brush is comfortable to hold and gets the job done. If you employ a distilled water rinse cycle (which I hope you do!), then it’s worth buying a second brush to spread the distilled water to avoid cross-contamination that may result from using the same brush used with the cleaning fluid.
The steps
-
Dry brush any loose materials off the record’s surface.
-
Apply the fluid over the entire surface. Avoid getting the label wet. While spreading it, gently move the brush back and forth to agitate the fluid. Then let it sit for thirty seconds to a minute to allow the cleaning solution time to do its thing.
-
Start the machine and vacuum the fluid off. The exact number of rotations depends on the machine and the power of its vacuum. When the record looks dry, it’s ready for the next step.
-
Rinse with plain distilled water. Use a second brush to spread the distilled water. The point is to remove any of the chemicals used in Step 2. If you use the same brush as was used to apply the cleaning fluid, you risk leaving some behind that will dry onto the record as a residue.
-
If your cleaning machine isn’t a dual-sided model, flip the record and repeat Steps 1-4.
-
Once the record is dry, slip it into a fresh sleeve.
Keep in mind, if your machine has velvet strips around the nozzle, watch them for signs of wear. They don’t last forever and will need to be replaced. If you’re worried about cross-contamination between the cleaning and rinse cycles, brush the strip with distilled water. After a few years I added a second Record Doctor machine to my process that is dedicated to the distilled water rinsing.
Who this is for
If you buy used records regularly, this is a genuine step up from hand cleaning. It also ensures that any of the contaminants the cleaning fluid dislodged will get removed efficiently. Wiping the surface with a dry cloth will not do this.
My cleaning process evolved from a simple Spin-Clean, to vacuum cleaning, and then into ultrasonics. Even with ultrasonic cleaning, I make sure the record goes straight onto a Record Doctor machine after both the cleaning and rinse cycles. It’s the only method I trust for drying the record.